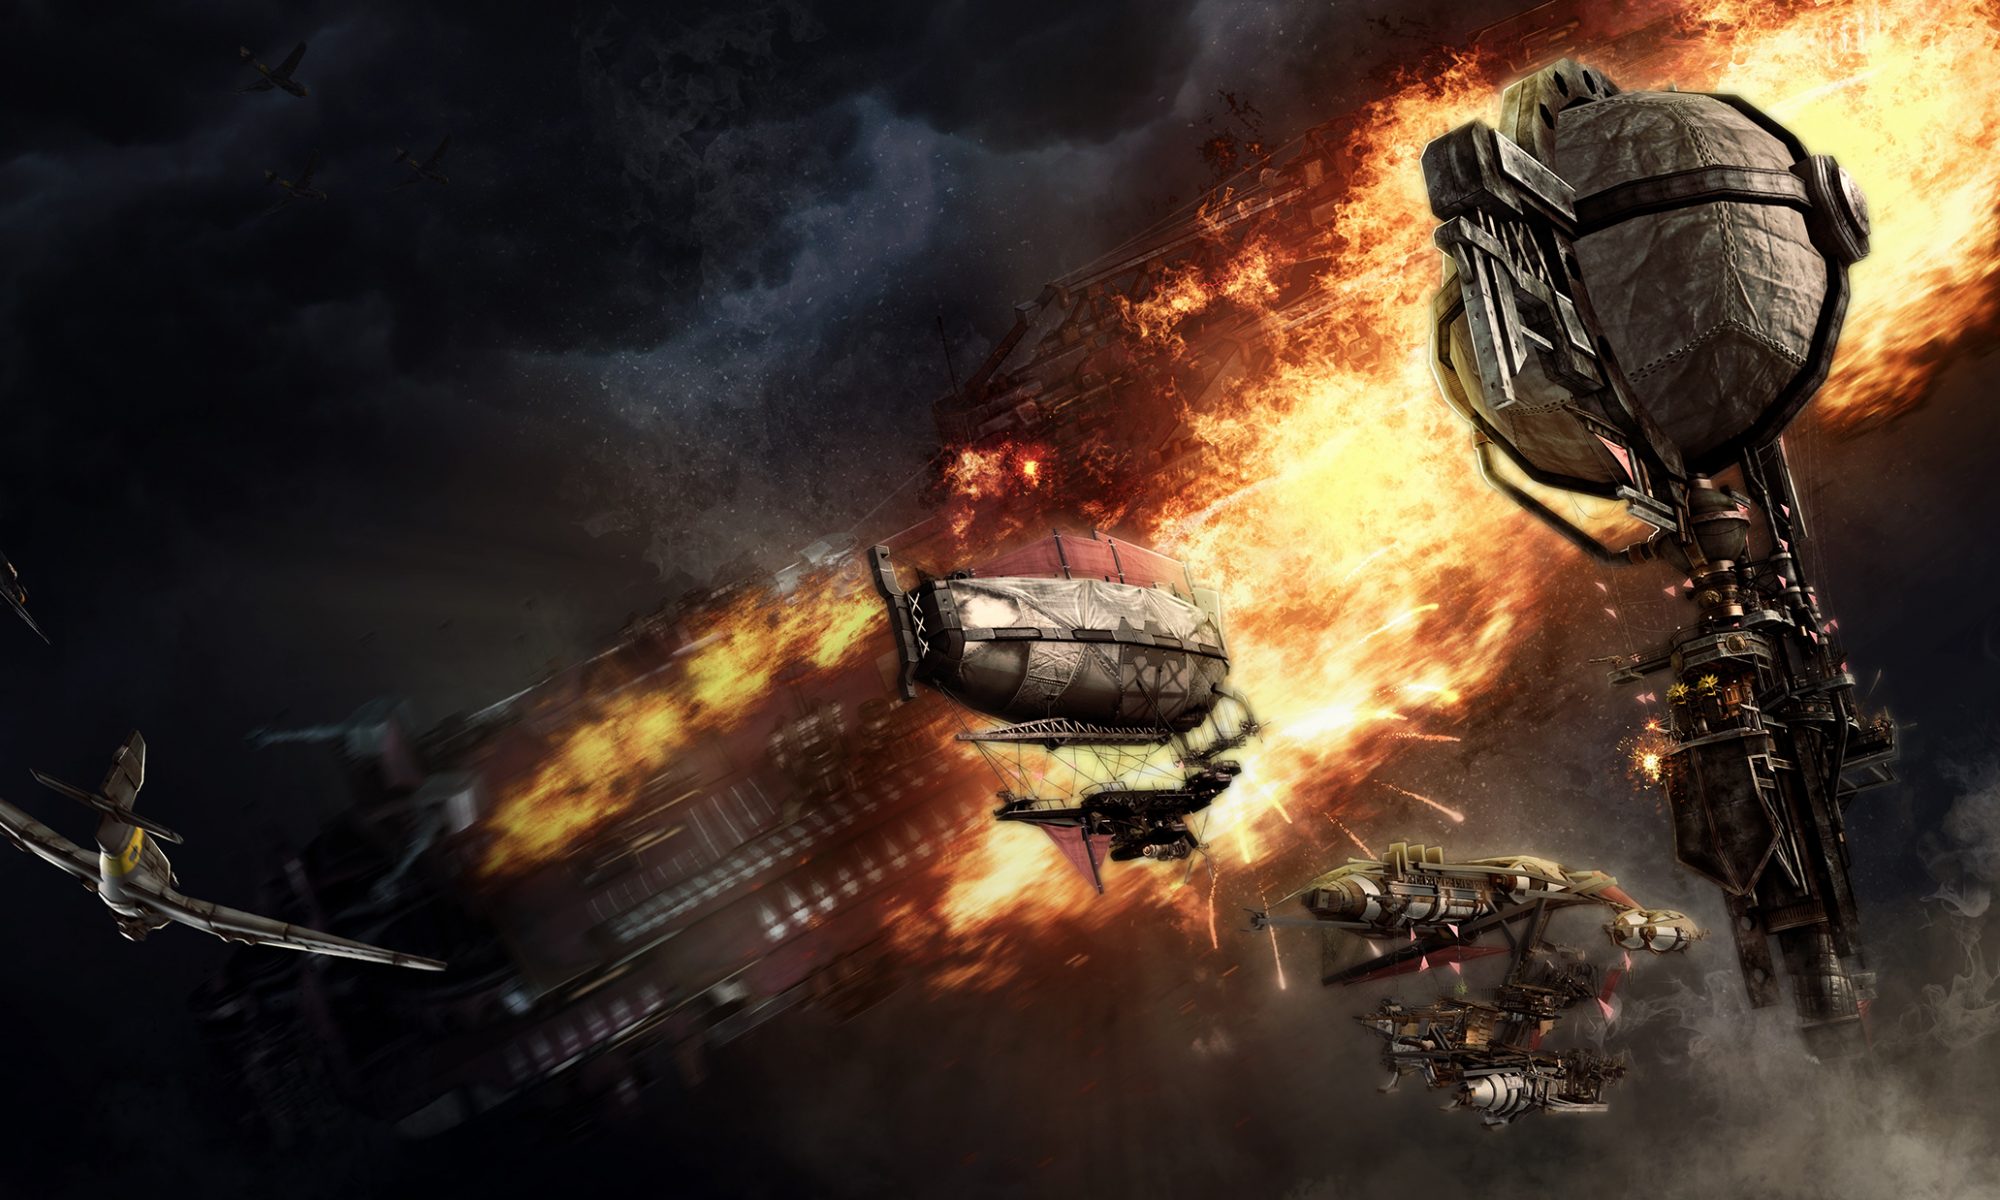
We’ve always thought of Guns of Icarus as connected with big, dramatic panoramas of sky. Spectacular sunsets and rises, towering thunderstorms, mountainous ranges of puffy white beneath a noon sun, that sort of thing. I’ve been working recently on some things to populate our big empty expanses of 3D sky: clouds.
There are two competing goals here: first, to make our clouds look awesome, which means spending graphical resources, and in particular integrating with our lighting system. At the same time, I had to do this without slowing the display on user machines to a crawl. Simple particle systems fail both of these tests: the options for rendering are limited, and they become extremely fill-rate hungry when you layer them thickly enough to look good.
Some (okay, a lot) of shader experiments and procedural mesh manipulation code later, and I think we’ve got something pretty cool. Here’s the same scene three times, lit by a single directional light that’s been rotated to different angles.
There are a couple of technical tricks going on here that help performance a lot. Though similar to particle systems, in that these are flat meshes oriented towards the camera, the thick central portions of the mesh are fully opaque and participate in depth testing, which cuts down significantly on fill-rate usage. Also, we can do most of our lighting per-vertex, and it looks just fine – for big soft clouds, we’ve found that high-detail lighting actually looks worse, because it destroys the illusion of a mass of vapor.
Unity’s standard lighting model actually gives you quite a lot per-vertex, basically for free. The combination of multiple vertex lights per pass with spherical harmonics for very distant lights allows us to add lights almost freely so long as we’re willing to accept that they are low detail. For fast, flickering lights (explosions, thunderbolts, fires), this seems like a win-win situation!


The cloud particles are positioned procedurally (just random distribution), but within volumes that are defined (by boxes, nothing too fancy) within the Unity editor. This allows us to shape the cloud volumes, an important factor if we want to use these as level geometry, with players flying in and out of them for cover. Which is, of course, the plan.

These static images are well and good, but let me leave you with a better demonstration of just how well this system interacts with real-time lighting. This is the result of a simple script that spawns randomly positioned, short-lived point lights.


